recoating education
Refinishing Hardwood Floors Without Sanding
Refinishing hardwood floors without sanding is real – through dust-free chemical abrasion. Here's how no-sand refinish works, when it qualifies, and when it doesn't.
You might have witnessed dull or weathered flooring in your home. Wood floors may show wear and tear over years of normal use. It’s possible to bring them back to their original beauty without too much effort or cost.
Many people think that it is too expensive and troublesome to refinish wood floors, but fortunately, this is untrue. It is easy to bring your floors back to looking their best within just one day. In fact, in many cases sanding and the mess that comes with it is not even necessary in order to regain your wood floor’s natural beauty.
Refinish Wood Floors or Replace Them?
Replacing wood floors can be cost-prohibitive. Installation costs as well as purchasing the wood floor itself can cost thousands of dollars. In addition to the mess and hassle, it often takes many days or even weeks to finish the work. In fact, depending on the square footage being replaced, the process can take a few days to weeks.
Alternatively, refinishing wood floors is a great alternative requiring less time and mess. Refinishing is also not as expensive as replacing the entire floor. Sometimes the level of damage to wood floors requires sanding them down to bare wood, but most often refinishing wood floors with ReCoat Revolution is the best solution. This process takes only a day and leaves no dust or mess behind to clean up – best of all the price is less than half of traditional wood floor refinishing to bare wood.
Why Refinish Wood Floors By Sanding to Bare Wood
1. Less Expensive than New Floors
Refinishing costs much less than replacing the entire floor. New materials are not required which include new wood, nails, glue, stains, and other components required to furnish a new floor. Instead, the existing wood floor can be rehabilitated to the condition of your choosing.
2. Increase the Value of your Home
Many potential buyers avoid purchasing homes where imitation wood floors have been installed. Laminate or plastic wood-looking floors are often used to disguise structural issues with a home or to avoid the work of refinishing solid wood flooring that often already exists but has been covered up. If done properly, refinished wood floors are highly valued among home buyers and bring higher purchase prices. Hence, refinishing your existing real wood floors increases a home’s value in many cases. A solid wood floor in “good” condition is of great value because they are considered a renewable resource; meaning it can be reconditioned over and over again if done properly.
3. Better Hypoallergenic Environment
As many as one in four people have upper respiratory problems that can be caused or “set off” by an environment that contains dust, or allergies trapped in the carpet. Hardwood flooring and or solid-state flooring is often recommended as the single best preventative measure for keeping allergy attacks and upper respiratory problems at bay. Most doctors recommend wood flooring because it prevents a home from holding dust and microscopic particles that are leading causes in triggering outbreaks in children and elderly adults. Hardwood floors with modern (water-based) finishing technology is an excellent solution and hypoallergenic because, together, the VOCs (volatile organic compounds) are very low.
Refinish Your Wood Floor Without Sanding
1. Wood Floor Cleaners
You can clean the wood floor of your house without using sandpaper or harsh abrasives. However, these chemicals often contain waxes creating a film on the floor that can create additional issues later on to your wood floor’s appearance. Many times wood floor cleaners are ineffective in creating a long-term solution to regaining your wood floor’s beauty. Hardwood floor cleaner solution is sprayed directly on the floor and spread with a mop or towel. Products that will create these problems for you are Murphy’s Oil Soap, Rejuvenate, Pine-Sol, Orange Glo, Mop & Glo, Pledge Floor Care, and many more. Please do not use these products on your wood floors because they will damage and ultimately destroy them. Be sure to consult with your local hardwood floor company to determine alternative products that are best suited for cleaning your hardwood floors.
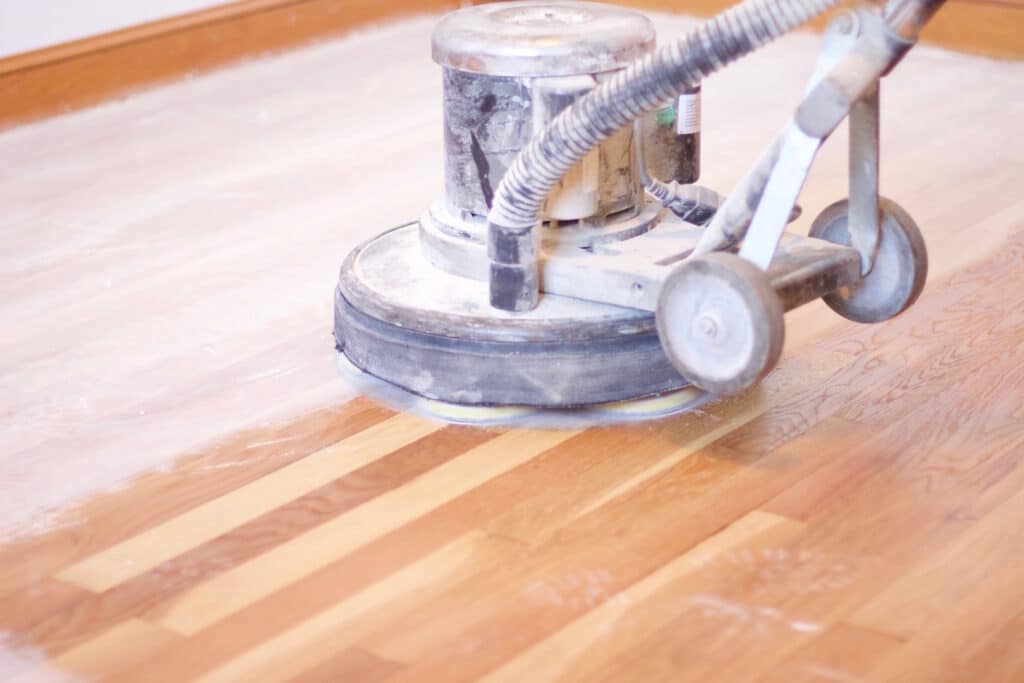
2. Surface Screening and ReCoating
This method requires a quick check first to see if residual wax or oils exist. If so, the process will require much more effort to get clean before ReCoating the wood floor can be done. If not, the topcoat will not adhere to the wood and will bubble and peel away after the process is completed.
A virgin mineral spirit solution may be an option for removing the wax or oil, but caution should be taken due to the toxic base of such distillates. This can be purchased at a paint store. Most big box stores sell recycled paint thinners (a byproduct of the automotive industry) so avoid purchasing or using them since they can contain trace amounts of oils. These oils that are then left laying on the surface of your floor can cause your finish to “fish eye” when drying. Thinners and spirits are highly flammable and dangerous to breathe, so be sure to cross ventilate the space and have access to clean, fresh air exchange. By using a cloth, you can wipe a test spot area of the floor. If the result comes in yellow or brown colors, the contaminants are still there. Clean the floor thoroughly and let it dry. If necessary, repeat the process where floor scratches or damage are still visible until you are certain any remaining residue has been cleaned and removed. A commercial (low RPM) buffer is recommended when used with proper buffing pads. Seek a flooring rental or commercial janitorial supply shop for buffers, pads, and applicators.
3. Professional Floor Care Services
To avoid the hassle and effort, hire skilled professionals who have experience finishing wood floors. Doing it yourself can risk causing more issues and damage to wood floors so professional expertise might be your best option. Wood floor refinishing service providers understand the intricacies of wood floor surfaces and are able to ensure your results are the best.
Perhaps your hardwoods do need a total refinish, but the time and money involved have just been a bit more than you want to commit to right now. We have a solution just for that!
The hardwood refinish process from ReCoat Revolution can be completed in a day with no dust or mess at a cost that is a fraction of traditional refinishing! Additionally, the system applied by ReCoat Revolution is environmentally safe and does not contain harmful fumes.
The Clean ReCoat Process uses our proprietary blend of products designed to provide the highest level of long-lasting protection for your wood floors while revealing their inherent beauty. First, we vacuum and scrape your floors to collect all dirt and debris. After surface cleaning, we power-scrub and deep clean them, killing mold, bacteria, and viruses (including Covid-19). Last, the technician coats your floors with our special blend of durable commercial-grade polyurethane. Voila! Beautiful fresh-looking floors in under one day that will be protected for years to come.