diy vs pro
How to Remove Scratches from Hardwood Floors: 6 Steps
How to remove scratches from hardwood floors: hardwood scratch repair tips, when to use a wax stick filler, and when a full ReCoat is the smarter fix. Honest DIY guide.
Wood floors are a beautiful addition to any home, but they can easily become scratched and damaged over time. Whether it’s from furniture, pets, or everyday wear and tear, scratches on wood floors can be unsightly and frustrating. But fear not, with the right tools and techniques, you can easily remove scratches from your wood floors and restore them to their former glory. In this article, we’ll walk you through 6 easy steps to remove scratches from wood floors and keep them looking like new.
Why Is Scratch Removal From Wood Floors Important?
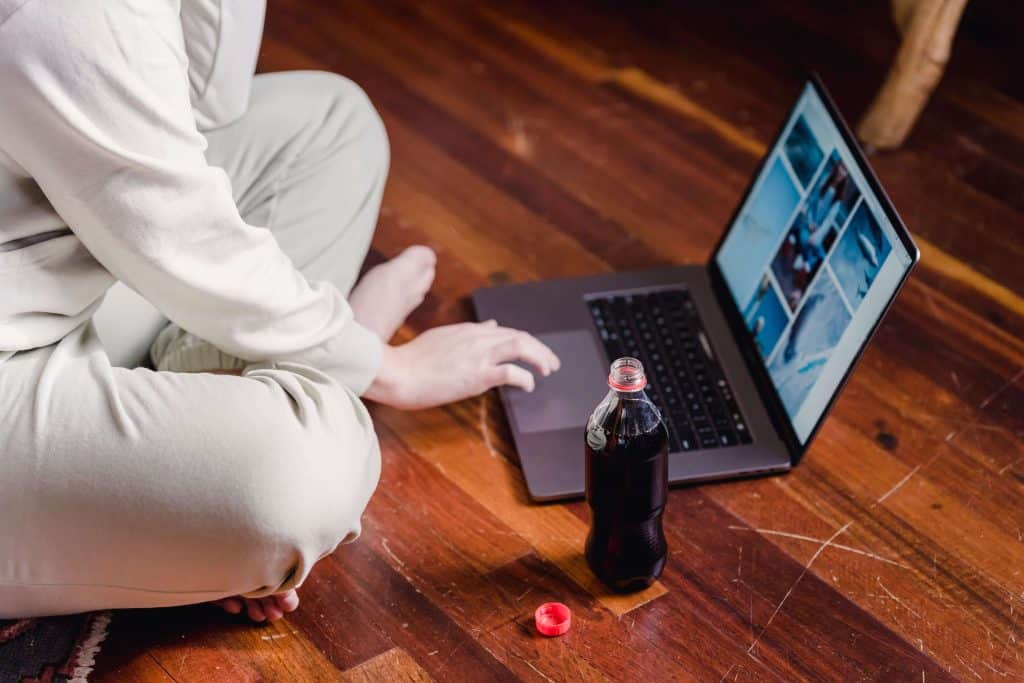
Scratches on wood floors not only detract from the overall appearance of your home, but they can also lead to further damage if left untreated. Dirt and debris can get caught in the scratches, causing them to become deeper and more noticeable. Additionally, scratches can weaken the protective finish on your wood floors, leaving them vulnerable to water damage and discoloration. By removing scratches from your wood floors, you not only improve their appearance but also protect them from future damage.
Preventing Further Damage
Before we dive into the steps for removing scratches, it’s important to take preventative measures to protect your wood floors from future damage. Place felt pads on the bottom of furniture legs to prevent them from scratching the floor when moved. We suggest picking up and lifting furniture whenever possible and not “scootching”it. Use rugs or mats in high-traffic areas to reduce wear and tear on the wood. And always clean up spills and messes immediately to prevent water damage.
Step 1: Clean the Area
Before attempting to remove scratches, it’s important to clean the area thoroughly. Be careful not to use too much water during this process as it may be absorbed by the wood. This is especially important with engineered and laminate wood flooring. Use a soft cloth or mop to remove any dirt or debris and excess water from the scratched area. This will ensure that the scratch is the only thing being treated and will prevent any additional damage from occurring.
Step 2: Assess the Damage
Not all scratches are created equal, and some may require different methods for removal. Take a close look at the scratch and determine its depth. If the scratch is only on the surface of the wood, it can be easily removed. However, if the scratch has penetrated the protective finish and reached the wood, it may require more extensive treatment.
Step 3: Use a Wood Filler or Stain
For scratches that have penetrated the protective finish, a wood filler can be used to fill in the scratch and restore the surface of the wood. Choose a wood filler that matches the color of your wood floors and apply it to the scratch using a putty knife. Smooth out the filler and allow it to dry completely before moving on to the next step.
For scratches that are mostly located on the surface, you can use a stain marker to correct the color to match the rest of the floor’s color. Many times there are depth variations of each scratch requiring both of these techniques. We recommend using the stain marker first and then using filler if necessary. Oftentimes, the stain marker disguises the scratch and does not require the use of filler.
Step 4: Sand the Area

For deeper scratches, sanding may be necessary to remove the damage. Use a fine-grit sandpaper (120 grit or higher) and gently sand the area in the direction of the wood grain. Be careful not to sand too aggressively, as this can cause further damage to the wood. Once the scratch has been sanded down, use a damp cloth to remove any dust or debris. Apply a matching stain to the sanded area so that it matches the rest of the floor.
Step 5: Apply a Protective Finish
To protect your wood floors from future scratches and damage, it’s important to apply a protective finish. Do not use wood floor polish or wax for this. Apply a water- or oil-based commercial-grade polyurethane with a sheen that is similar to the rest of your floor for best results. Water-based polyurethane dries much faster which makes it the more efficient choice. This will not only protect your floors but also help to blend in the repaired area with the rest of the floor.
Step 6: Prevention is Key
The best way to remove scratches from wood floors is to prevent them from happening in the first place. Regularly clean and maintain your wood floors to keep them looking like new. Use rugs or mats in high-traffic areas and place felt pads on furniture legs to prevent scratches. And always clean up spills and messes immediately to prevent water damage.
Conclusion
Removing scratches from wood floors may seem like a daunting task, but with the right tools and techniques, it can be done easily and effectively. By following these 6 easy steps, you can remove scratches from your wood floors and keep them looking like new. Professional floor refinishing companies like ReCoat Revolution are experts at solving all of your wood floor problems. Remember to take preventative measures to protect your floors from future damage and regularly maintain them to keep them in top condition. With a little bit of effort, you can restore your wood floors to their former glory and enjoy their beauty for years to come.